Installation Videos
EverEdge installation is so easy – just follow the steps below:
An EverEdge Installation Guide is included with every order. Please see a copy of the guide for our straight edging in the 75mm, 100mm and 125mm depths here and the 150mm depth here; and our garden rings here.
If you have any queries don’t hesitate to contact us on 0488 010 203, send us a message from our Contact Us page, or contact one of our Stockists.
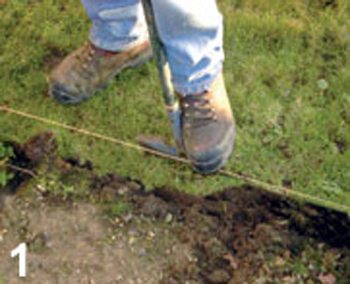
Form a new edge, or re-cut the existing edge deeper to effectively make a trench for EverEdge.

Place EverEdge in position scraping the spikes from left to right in the soil helps to seat it well. Ensure EverEdge logo is facing the front and that the new piece being installed has the male section locking into the female not visa-versa.
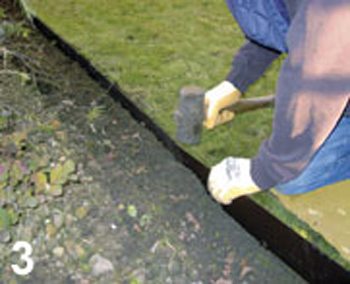
Using a rubber mallet or a hammer on a block of wood, drive the EverEdge into the ground until your edge is flush with the turf level.
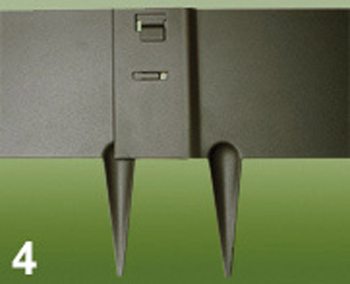
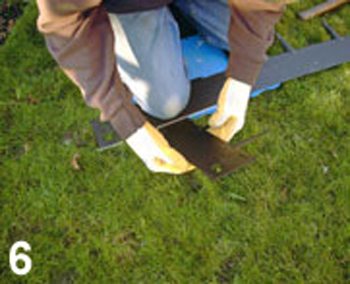
Interlock the overlap as shown.
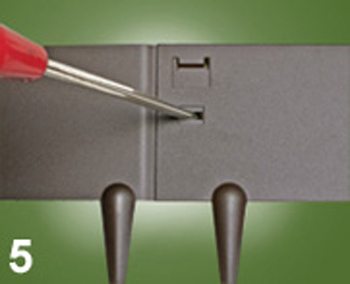
When all the EverEdge is installed press in the tongue using a screwdriver (when using the 75mm, 100mm or 125mm depths) – only push to about 45°.
Using either another piece of EverEdge or a length of timber EverEdge can be bent to the required angle before installing.
